

Introduction (YubiKey setup Guide) : Why You Need a Hardware Security Key?
You have a strong unique password. You have 2-Factor Authentication (2FA) enabled on your phone. You feel safe.
But there is a problem. If a sophisticated hacker creates a perfect replica of the Gmail login page and emails it to you, and you type in your username, password, and your 6-digit authenticator code, they win. They capture all three instantly and log in before you realize your mistake. This is a Real-Time Phishing Proxy attack (often done with tools like Evilginx).
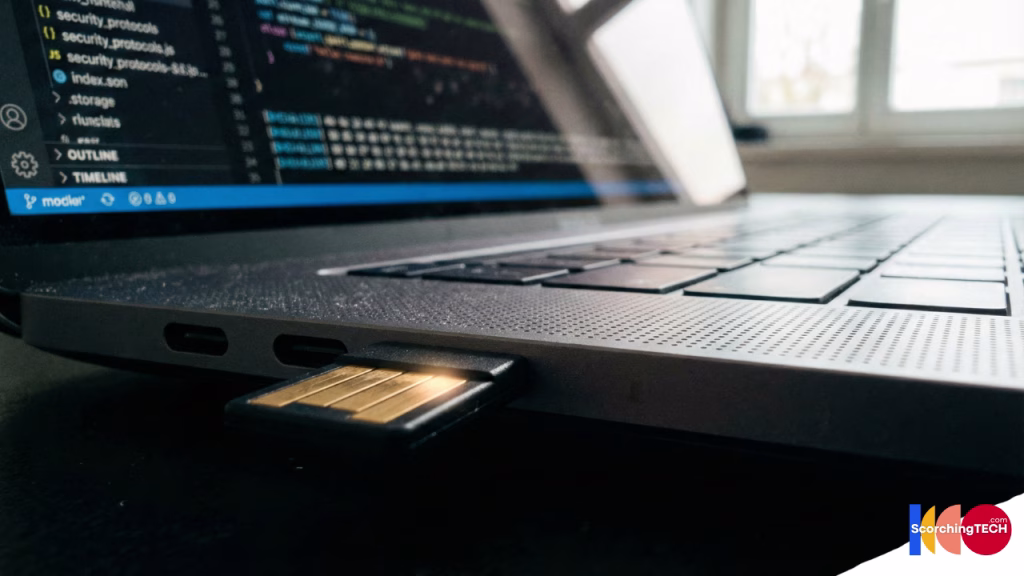
To defeat this, you need a second factor that cannot be Phished. You need a Hardware Security Key (like a YubiKey, Google Titan, or Token2).
This guide will walk you through setting up a YubiKey using the FIDO2/WebAuthn standard, ensuring you are protected against even the most advanced social engineering attacks in 2025.
The Golden Rule: Why You Need Two Security Keys
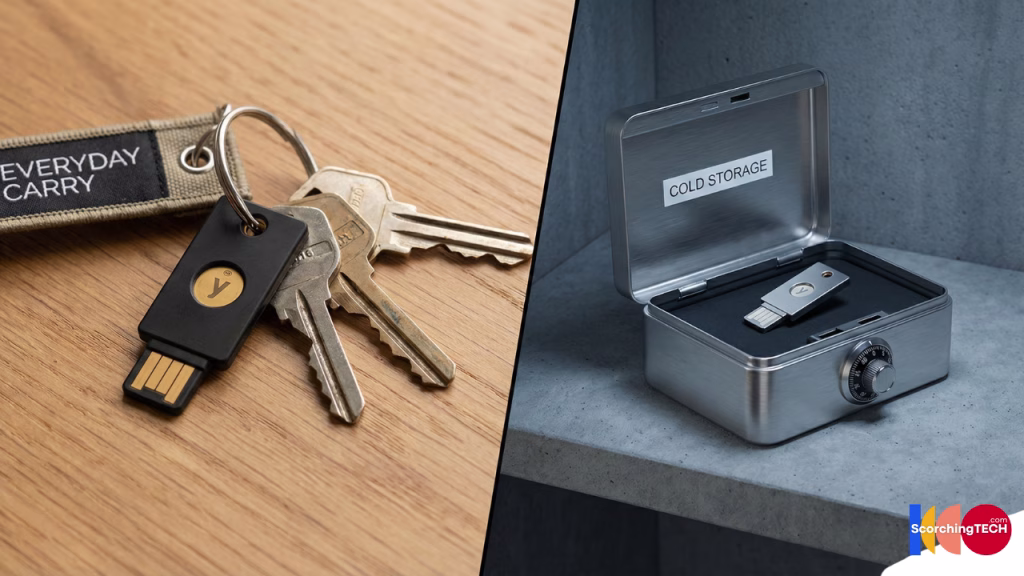
Before we start the setup, we must address the number one fear people have: “What if I lose my key?”
If you lose your only key and you haven’t set up a backup method, you are locked out. Permanently.
The Golden Rule of Hardware Security: Always register at least two keys.
- Primary Key: On your keychain, with you every day (e.g., YubiKey 5C NFC).
- Backup Key: Stored in a fireproof safe or hidden location at home.
Budget Tip: Your backup key doesn’t need to be the expensive $55 YubiKey 5 Series. It can be the cheaper “Security Key C NFC” ($29) or a basic FIDO2-only key, since it sits in a safe and only does basic authentication.
Step 1: Securing Your “Root” Identity (Google Account Setup)
Your Google (or Apple) account is the master key to your digital life. It controls your email, which controls your password resets for every other site. We secure this first.
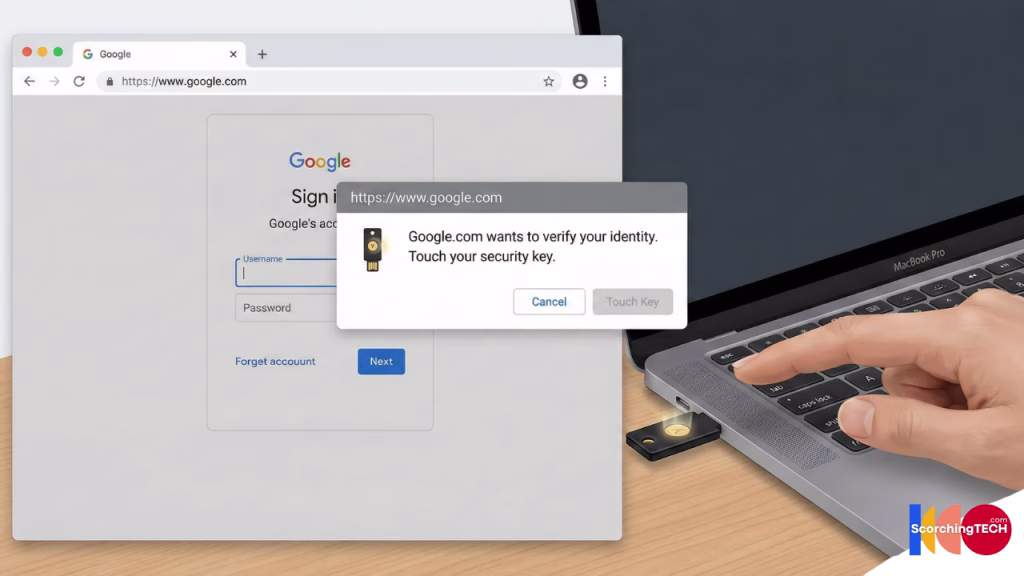
- Go to Settings: Navigate to
myaccount.google.com> Security. - 2-Step Verification: Click on “2-Step Verification” (sometimes labeled as 2FA).
- Add Security Key: Scroll down to the “Security Key” section and click “Add Security Key”.
- Physical Selection: Choose “Physical” (not Android phone).
- The Tap: Plug in your Primary Key. When the light blinks, tap the gold disc.
- Name It: Label it clearly (e.g., “YubiKey – Keychain”).
- Repeat: Immediately add your Backup Key and label it (e.g., “YubiKey – Safe”).
Crucial Security Tip: Once both keys are added, look for the option to “remove phone numbers” or other weak 2FA methods. If you leave SMS 2FA active, a hacker can bypass your fancy hardware key by just hitting “Try another way” and hacking your text messages (SIM Swapping).
Step 2: Locking the Vault (Password Manager Setup)
Now that your email is safe, you must secure your Password Manager. If you use Bitwarden, 1Password, or Proton Pass, the process is similar.
- Log into your Web Vault (usually required to be done in a browser, not the extension).
- Go to Settings/Account Settings > Security > Two-Step Login.
- Select WebAuthn or FIDO2 WebAuthn.
- Register both your Primary and Backup keys.
- Save the Recovery Code: Your password manager will give you a long alphanumeric recovery code. Print this out. Do not save it digitally. Put it in the same physical location as your birth certificate.
Step 3: Mobile Login with NFC Security Keys
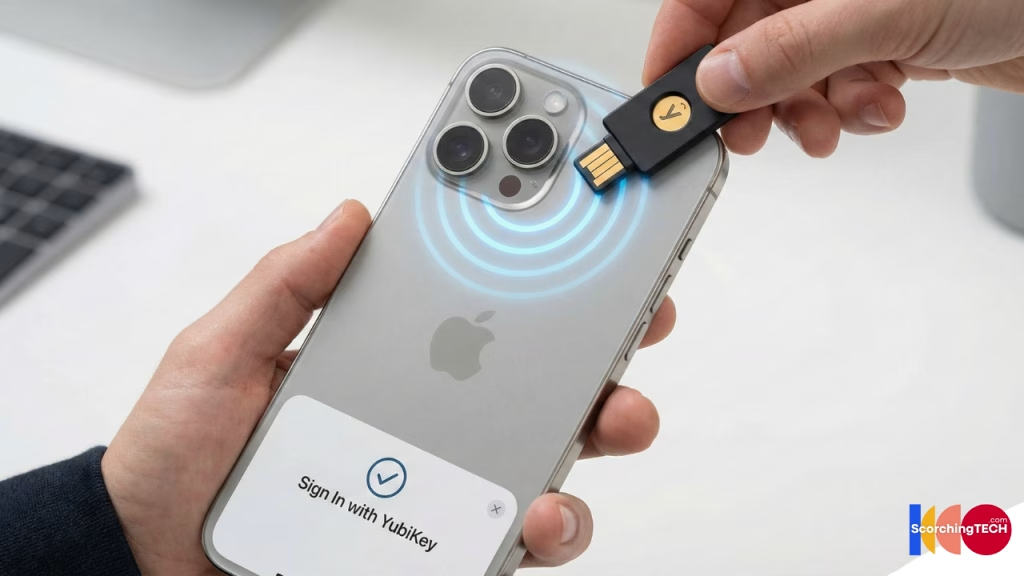
Many people worry that using a USB key means they can’t log in on their phone. Modern keys have NFC (Near Field Communication) built-in, making mobile login seamless on both iOS and Android.
To log in on Mobile:
- Enter your username and password as normal.
- When prompted for the security key, hold the YubiKey against the top back of your iPhone (near the camera) or the NFC sweet spot on your Android (usually the middle back).
- It will vibrate and authenticate instantly. No plugging in required.
Note: If you have an older iPad or device without NFC, you may need a YubiKey 5Ci (which has a Lightning connector) or a USB-C adapter.
Lost YubiKey Recovery Protocol: What to Do
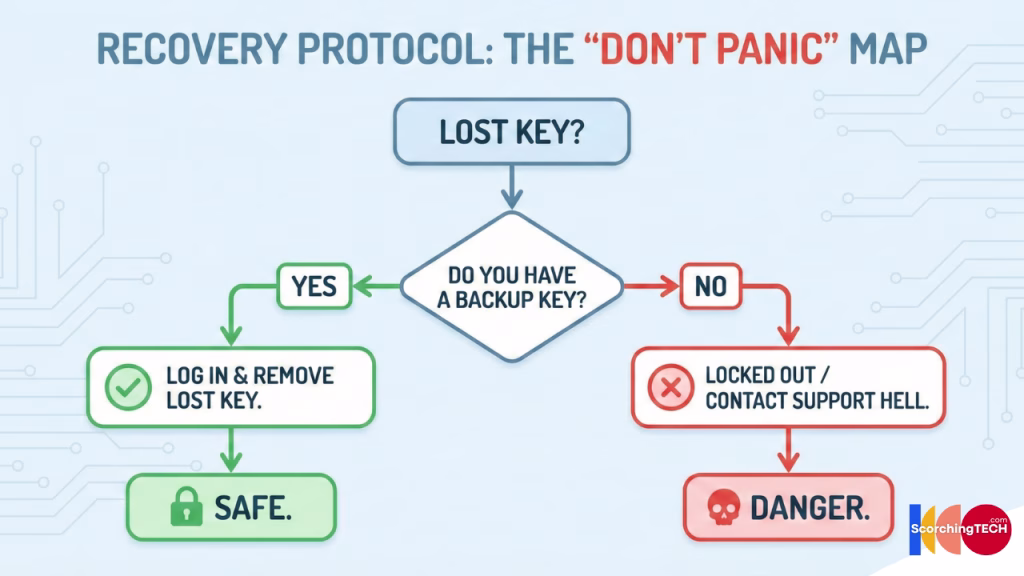
It happened. Your keys fell out of your pocket. Don’t panic. This is why we bought the backup key.
- Retrieve Backup: Go home and get your Backup Key from the safe.
- Log In: Use the Backup Key to log into your Critical Accounts (Google, Password Manager).
- Revoke the Lost Key: Go to settings and delete “YubiKey – Keychain”. The lost key is now a useless piece of plastic. It contains no personal data itself.
- Replace: Order a new key immediately to serve as your new Primary.
Conclusion: The Ultimate Peace of Mind
Once you switch to hardware 2FA, the feeling of security is tangible. When you see a suspicious email, you don’t have to panic about whether the link is fake. You know that unless the attacker physically steals the key from your pocket, they cannot get in.
Next Step: Now that your identity is locked down, let’s look at where you store your data. It’s time to learn about the dangers of consumer VPNs in our next guide: [Link to Cluster 2.2: The Truth About Consumer VPNs].